Guide to using Eclipse with JMSL
Eclipse is a very powerful Java Development Environment. This document includes step-by-step instructions on how to set up a new Java Project in Eclipse that uses JMSL.
- Create a New Project
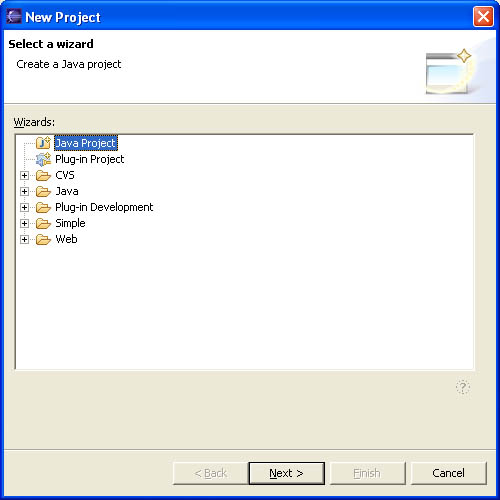
In Eclipse, select File Menu -> New -> Project.
A Dialog opens. Choose Java Project
- Name Your Project
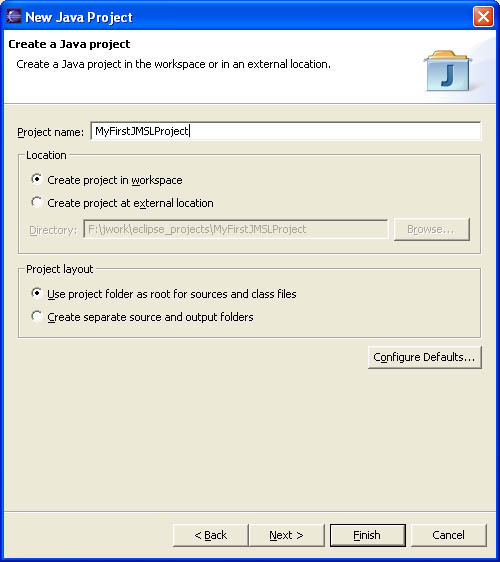
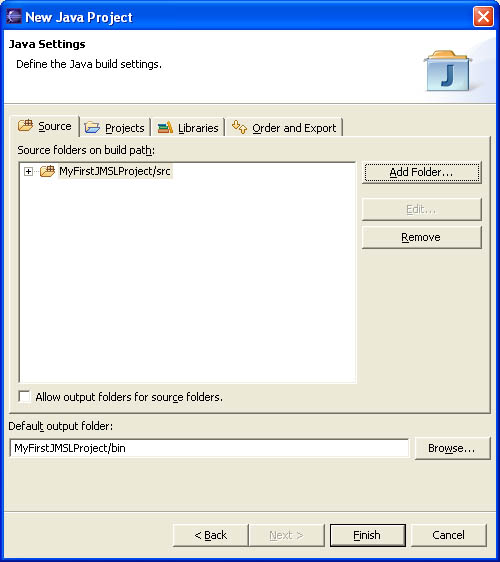
- Your Project Properties Are Displayed
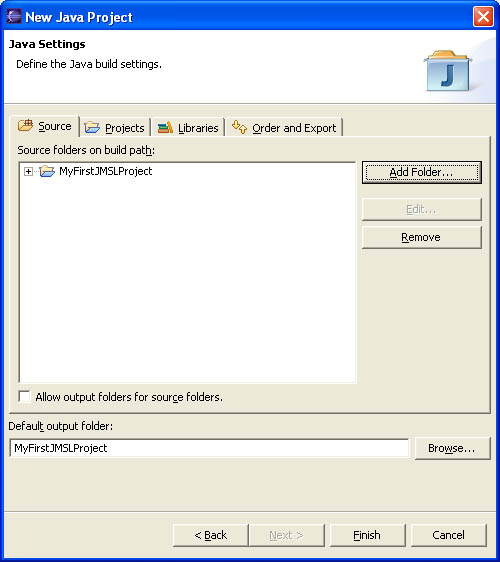
- Add source folder
Click Add Folder button (see above). A dialog opens. Type in "src"
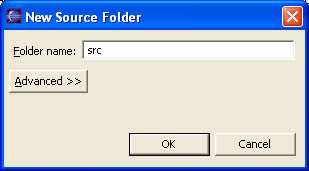
- Confirmation Dialog
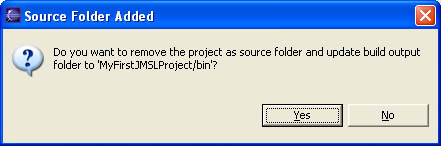
- Your Project settings now look like this:
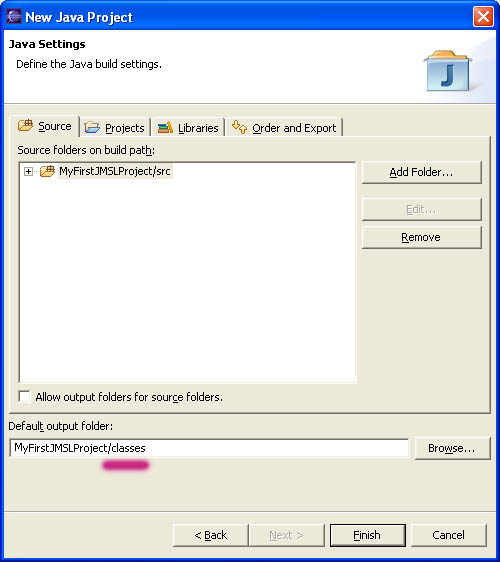
- Change output folder name
The output folder really ought to be called "classes" not "bin", since this is the folder into which .java files are compiled to .class files. You may not agree, so skip this step.
- Click Libraries Tab
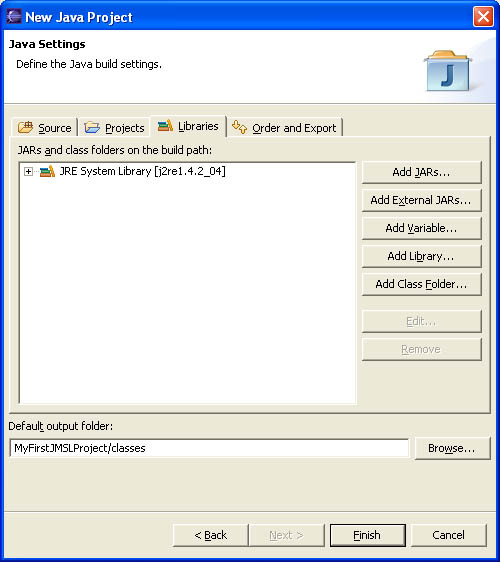
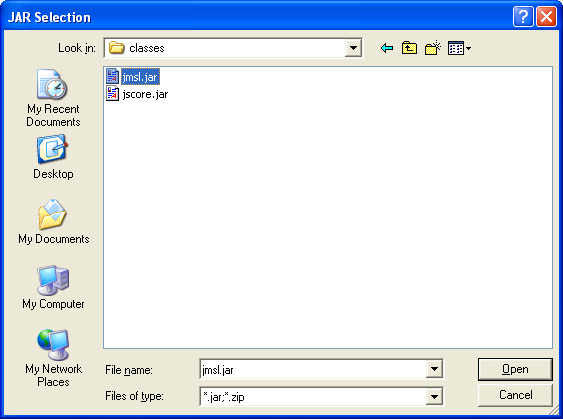
- Click Add External Jars.
A file dialog opens. Browse to the JMSL installation directory, into the classes folder. Select jmsl.jar
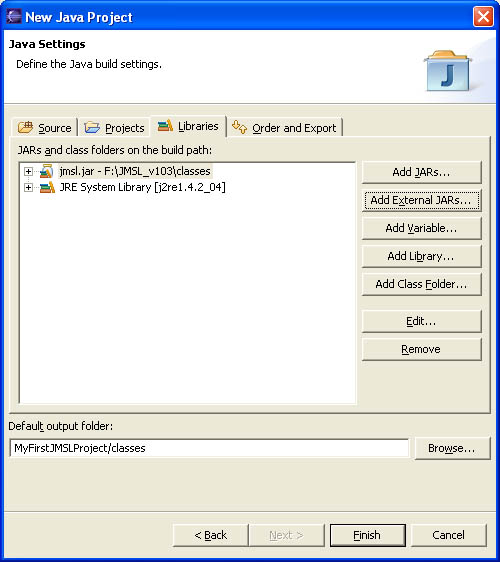
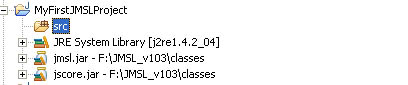
- Your Project Setting now look like this
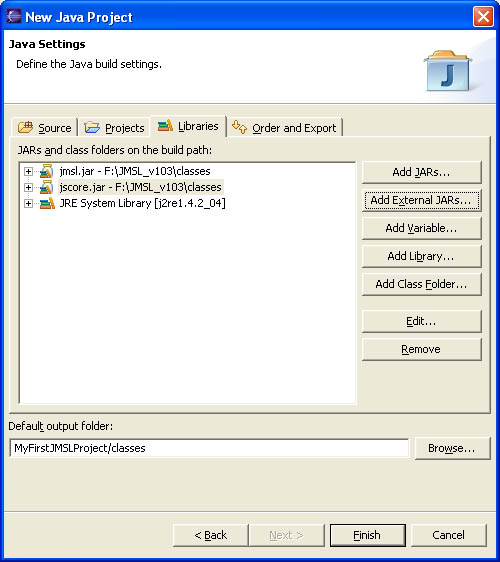
- Repeat Add External Jars if your project contains Score notation
MIDIShare users: Add External Jars and browse to grame.jar!
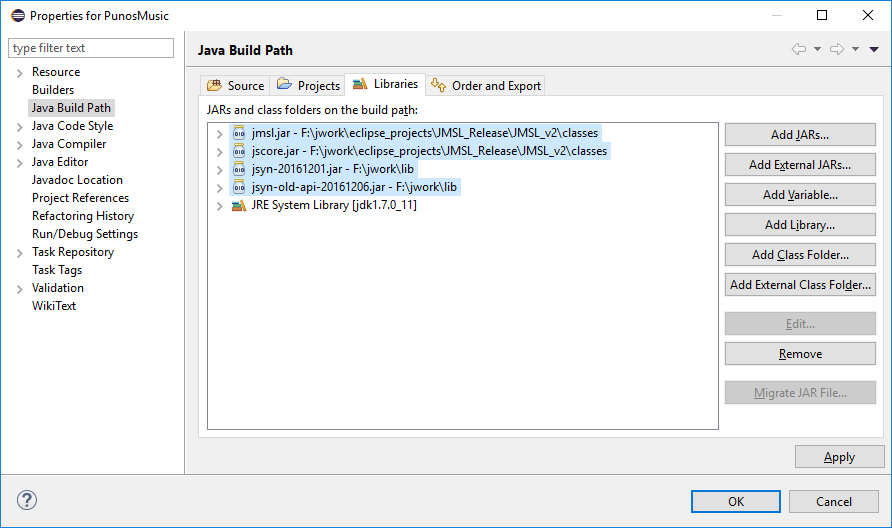
- JSyn users, repeat Add External Jars if your project contains JSyn: Add External Jars and select the JSyn jars in the lib directory.
- Now you are ready to create your first Java class. Right click on the src folder in the Package Explorer and choose New Class.
Good luck!
Installation Page
JMSL Home